


Rye Sourdough Starter: A Step-by-Step Guide
The Secret to Flavorful Bread

Imagine biting into a loaf of crusty, tangy sourdough bread, the kind that fills your kitchen with warmth and that irresistible aroma. That magic starts with a starter, a living culture of wild yeast and bacteria, and today, we're going to build one together.
Why Rye
Rye flour brings a depth and complexity to sourdough that's hard to resist. Imagine a loaf with a rich, tangy flavor and a satisfying chew. That's the magic of rye.
Plus, you can use a rye starter for any type of sourdough bread—from rustic rye loaves to hearty whole wheat and even flavorful pumpernickel.
And the best part? rye starters can often be quicker to get going, so you'll be baking sooner!
A Note on Baker's Percentages
I use a simple system called "baker's percentages" to weigh the ingredients. Think of flour as always being 100% and the percentage for each other ingredient is calculated by dividing its weight by the weight of the flour. This makes it easy to make more or less sourdough starter.
Our Method: A 7-Day Journey
We'll be using a 7-day feeding schedule, which is a great way to nurture your starter and encourage the growth of healthy yeast and bacteria.
We use a 200% hydration for our starter. This means we add twice the amount of water as rye flour. Rye flour absorbs and retains significantly more water than wheat, and this higher hydration makes the mixing much easier.
Remember, your starter is a living creature! It thrives in temperatures we find comfortable, ideally between 70-75°F (21-24°C). If your kitchen temperature is not between 70-75°F (21-24°C), use your oven, turned off, with the light on and off intermittently.
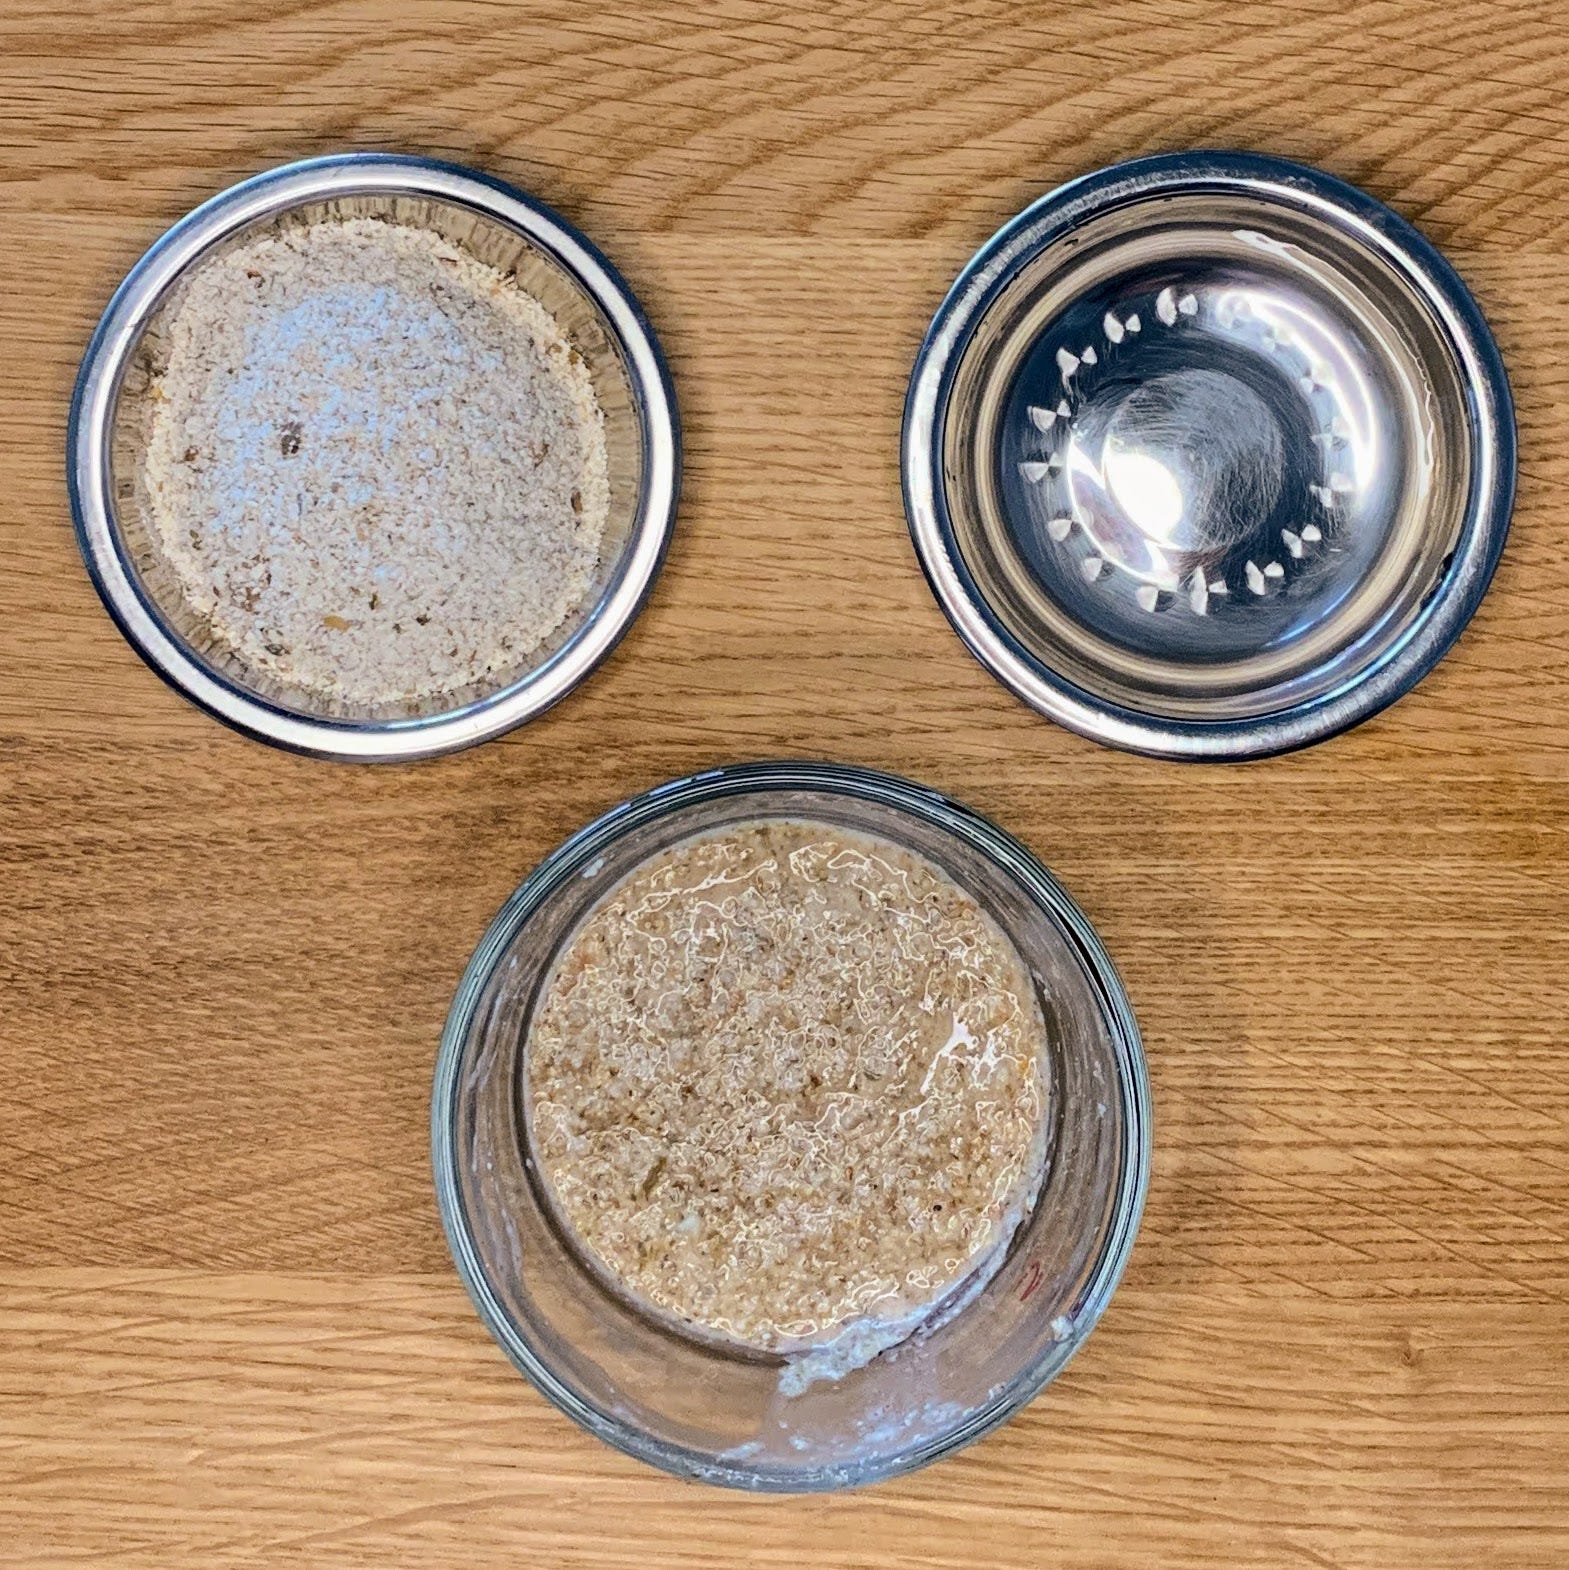
Day 1: The Genesis
Simply combine the following in a clean jar or container.
Rye Flour: 10g - 100%
Water: 20g (70-75°F / 21-24°C) - 200% . Temperature is key! Use a thermometer.
Mix well until you have a smooth paste. Cover the mixture loosely (a lid slightly ajar, cheesecloth, or even a coffee filter secured with a rubber band works well) and let it rest at 70-75°F (21-24°C) for 24 hours, noting that warmer environments will speed up the process while cooler ones will slow it down.
Days 2-7: Feeding and Growth
Now, let's get into the daily feeding routine. Here's what you'll need for each daily feeding:
Rye Flour: 10g - 100%
Water (70-75°F / 21-24°C): 20g - 200%
Starter (from your jar): 10g - 100%
From Day 2 through Day 7, a consistent daily feeding routine is crucial. Each day, discard all but 10g of your starter—this seemingly wasteful step is vital for controlling acidity and fostering vigorous yeast and bacteria. Combine the 10g of starter with 20g of water, mix slightly, and add 10g of rye flour. Mix thoroughly until smooth, cover loosely, and let it rest for another 24 hours.
You can save your discards in the refrigerator for delicious recipes like pancakes or crackers.
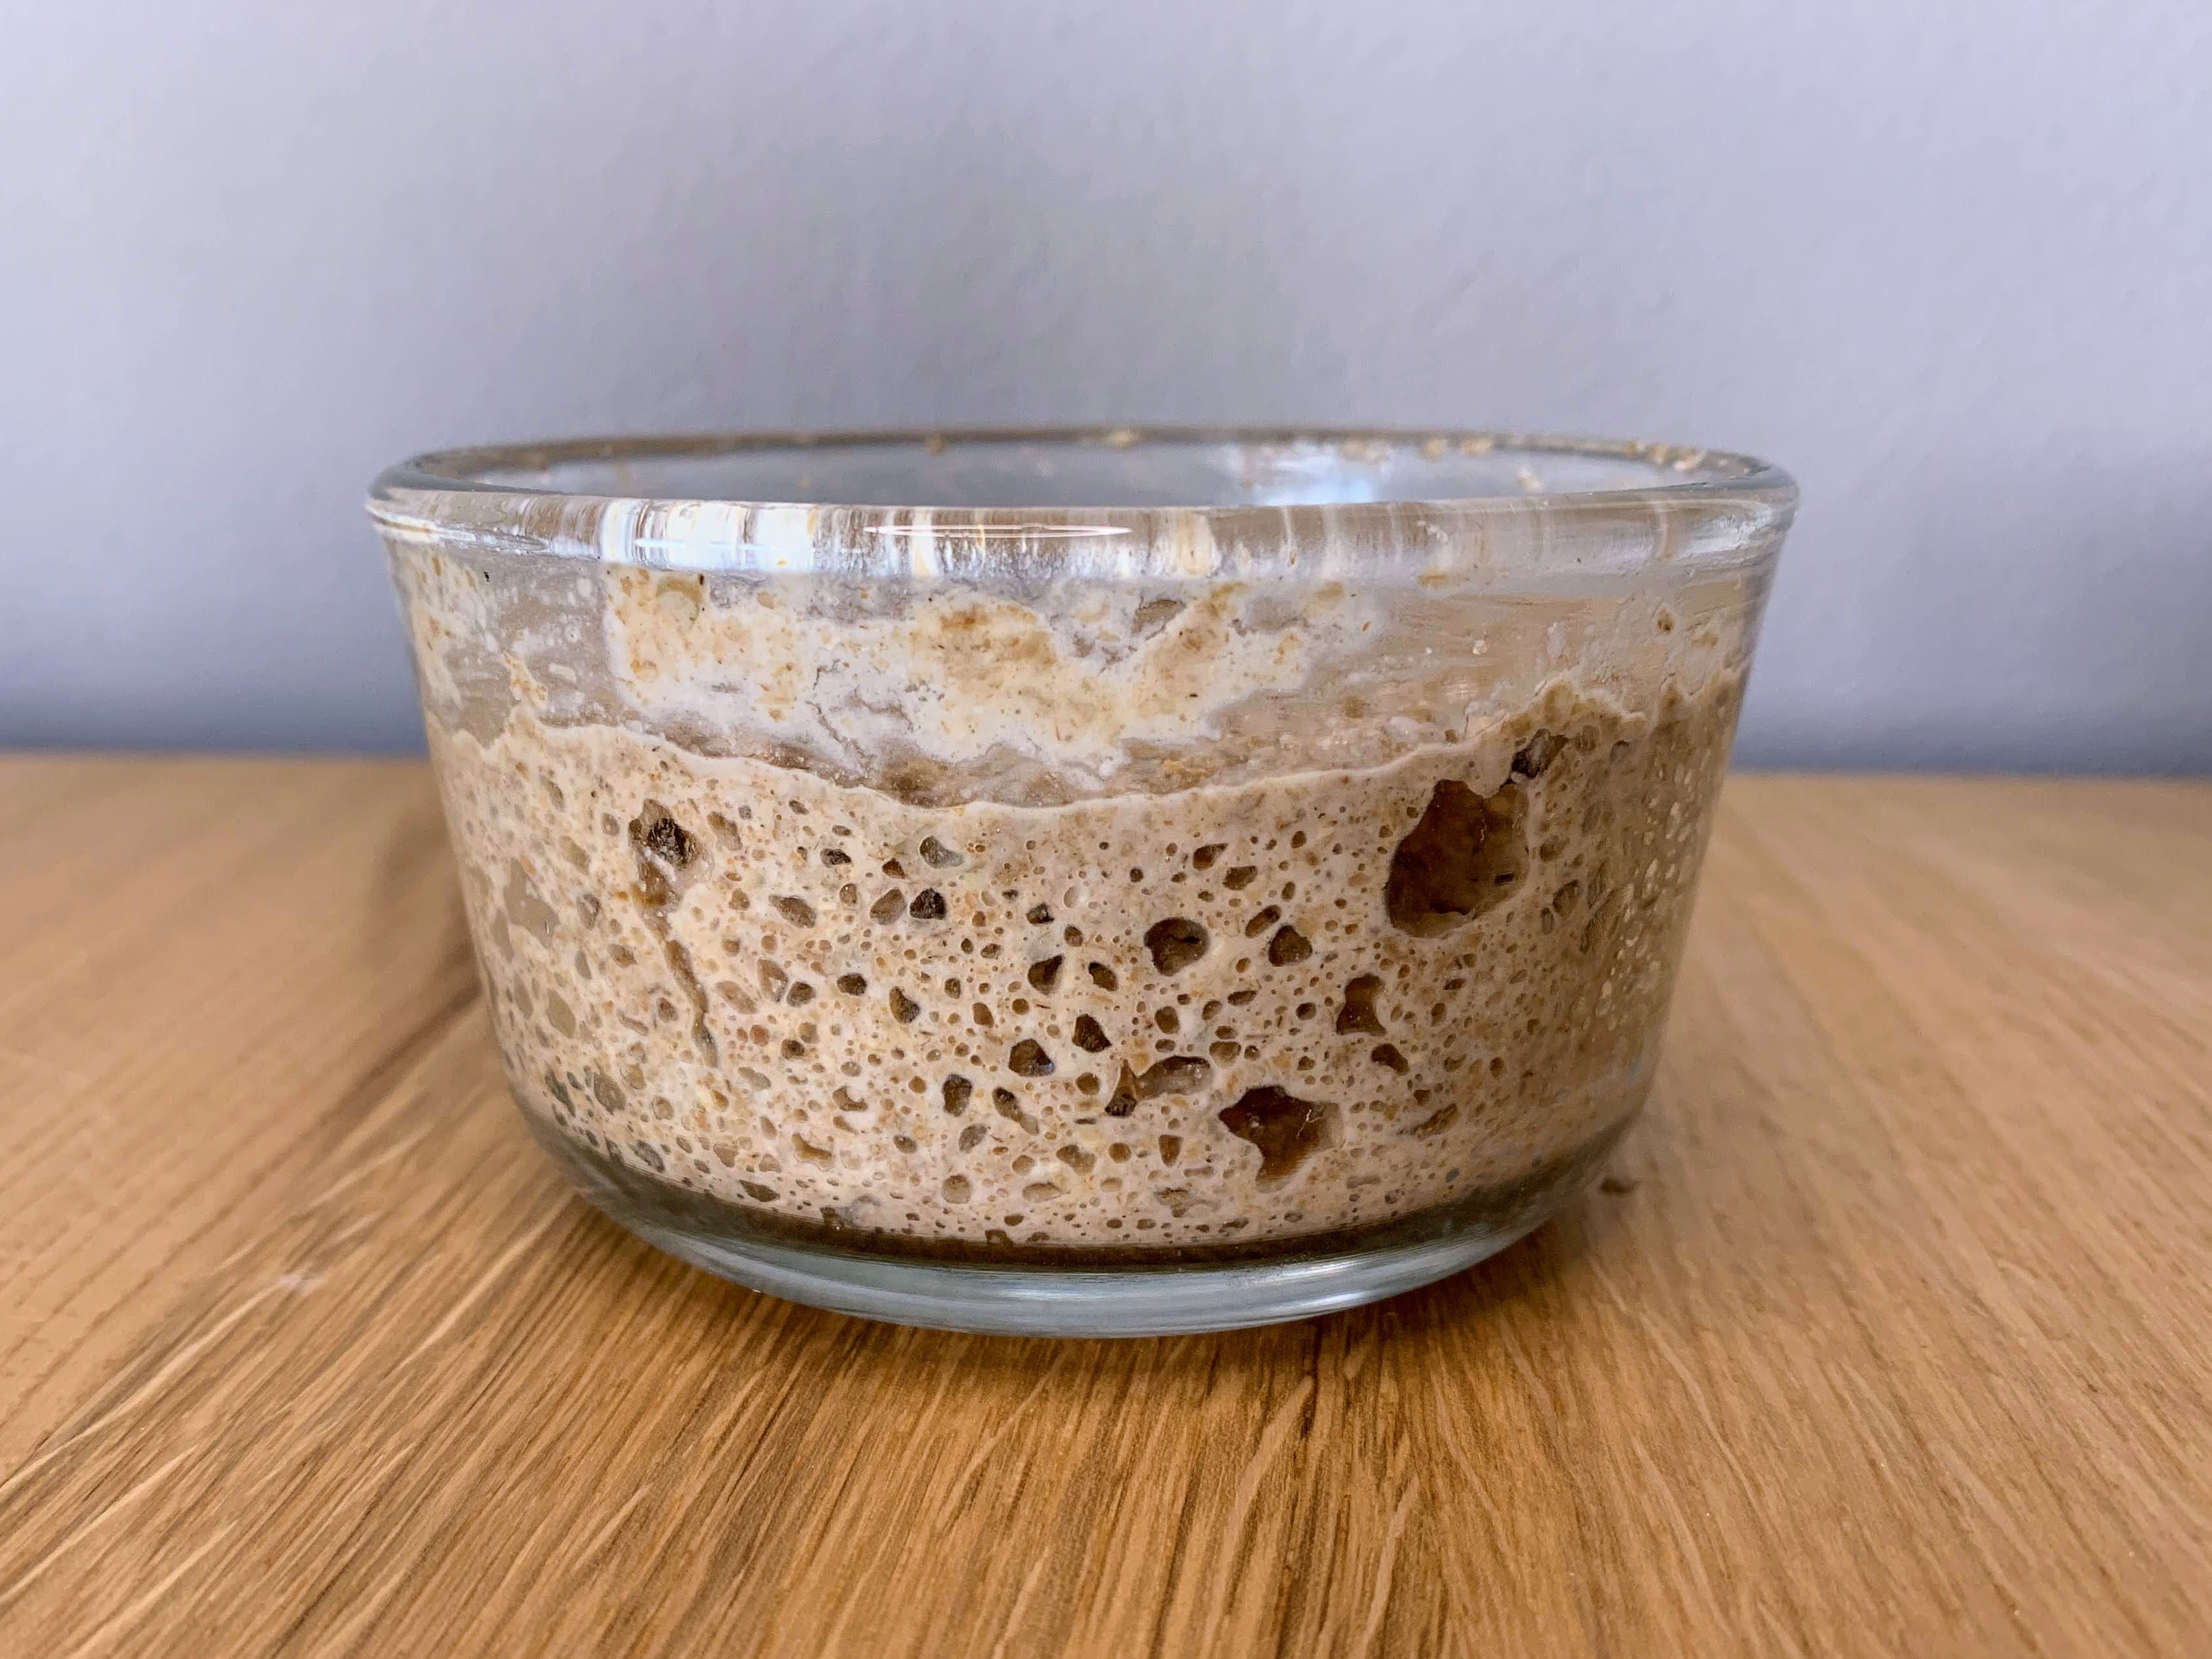
After seven days of consistent feeding, your starter should be active and ready for use in your sourdough preferment, or it can be stored in a sealed container in the refrigerator for later use.
Storage
After 7 days, your starter will be ready. Store a small amount in a sealed jar in the refrigerator. A tablespoon is all you need to save for future baking.
When you're ready to bake, take your starter out of the fridge and feed it once to make it active as described here before using it to make your sourdough preferment.
Troubleshooting & Tips
Temperature: Consistent warmth is vital. A good place to maintain a consistent temperature is in the oven with the light on (and off intermittently) or on top of your refrigerator.
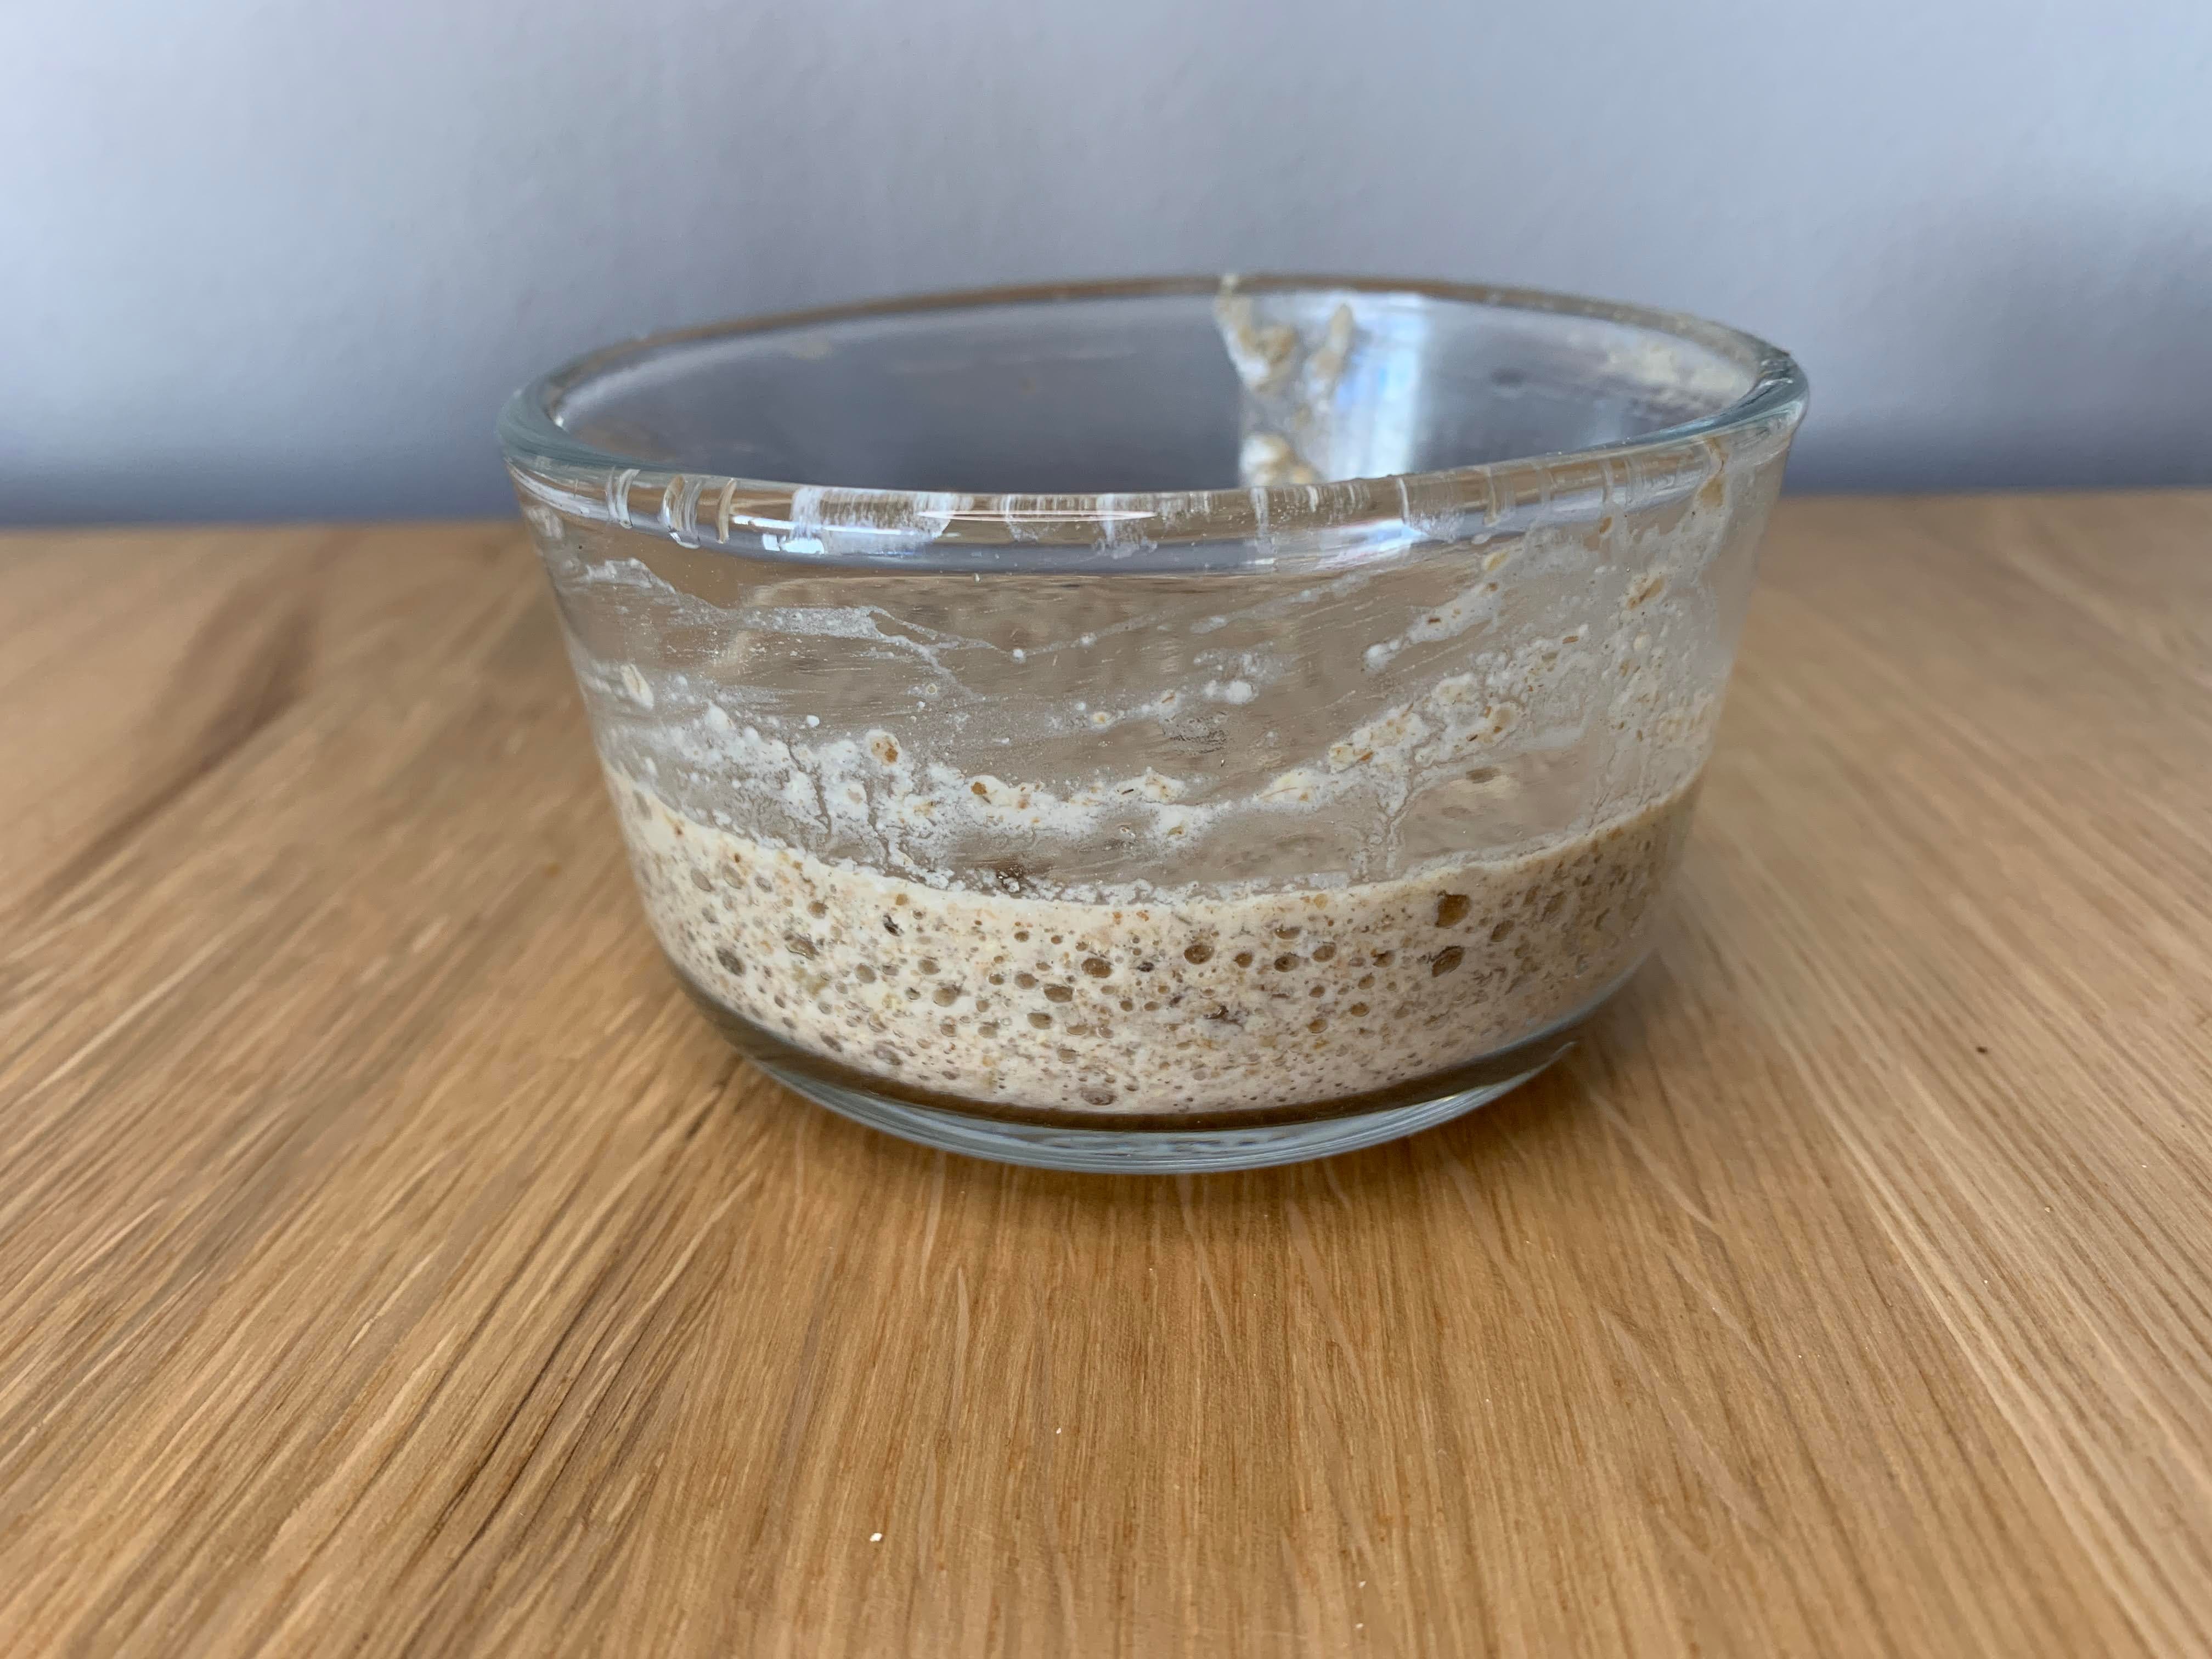
Consistency: Your starter should gradually become bubbly after each feeding.
Smell: A healthy starter will have a slightly tangy, sour smell. If it smells strongly of acetone (nail polish remover) or is otherwise unpleasant, it may have gone bad and should be discarded.
Patience: Sourdough is a journey. It can take several days (sometimes up to two weeks or even a little longer) for your starter to become reliably active. Don't give up!
No Bubbles: If your starter isn't showing signs of activity after a few days, make sure the temperature is warm enough. You can also try adding a pinch of rye flour to the feedings. Sometimes it just takes a little longer!
Mold: Mold is usually fuzzy and can be white, green, or black. If you see mold, discard the entire starter.
Always remember that I’m here to support you in this journey. Don’t forget to leave me a comment with your questions or thoughts.
What's Next
Stay tuned for the next post where we'll explore how to use the newly created rye starter to bake a delicious whole wheat sourdough loaf! We'll cover everything from activating your starter and making sourdough preferment to shaping and baking techniques.